GMC Sierra Door Panel Removal
Below shows how my 1999 GMC Sierra 1500 SLT
pickup door panels come apart.
I had searched the net looking for any diagrams showing how the panels attached
to the door. Some said they were held on with the little plastic Christmas tree
looking pins. Some said one screw while others said two. Not finding anything
definite, I decided to just jump in and see what I could find. Hopefully I can
help someone else who's wondering how they come off.
The panels had to come off in order to change
out the door speakers. I had researched replacements and knew that there was
some kind of plastic clip that attached them to the door. I understood the
factory mount was glued to the speaker and was not reuseable. Not true as I
found out later. Most people bought from Crutchfield and got a new mount
with the speaker.
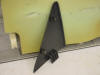
1 Remove the plastic
triangle piece above the panel where the vent window normally is. There are two
tabs that push into some slots along the top edge. I used a small
screwdriver to pry the panel up enough to grab and pull.
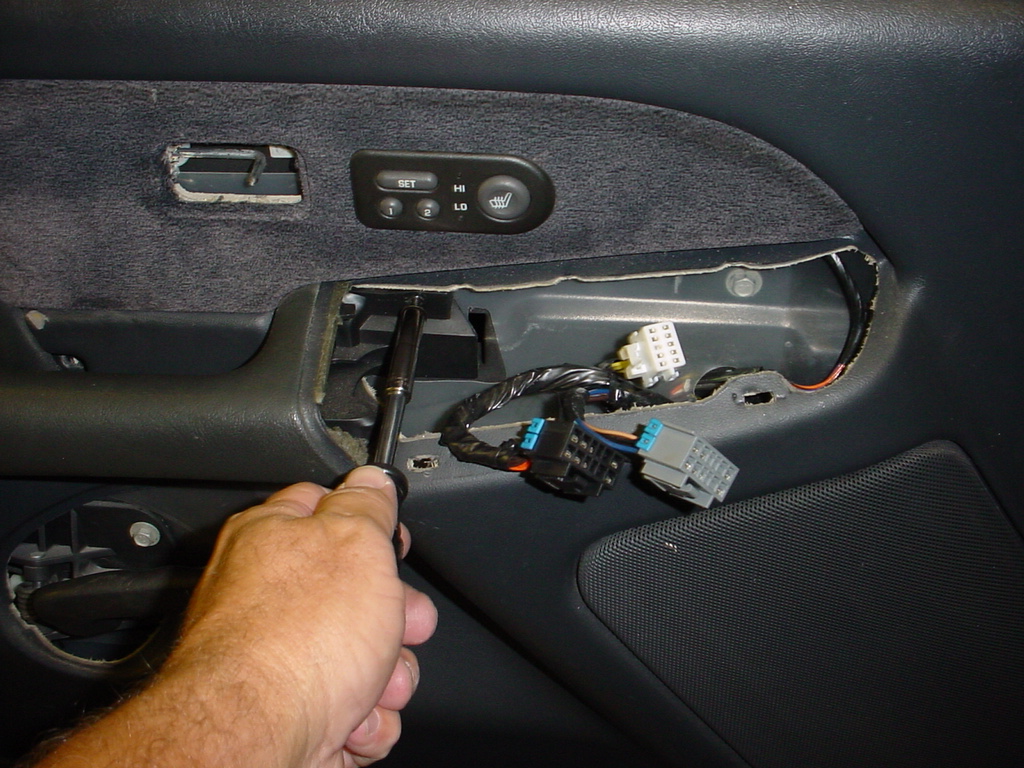
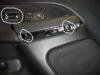
2 Remove the control panel in
front of the arm rest. If you look along the bottom edge you will see two small
holes. That's where the two metal clips are that hold it down. Again a small
screwdriver was used to press in the clips and pry up with.
3 The door lock slide
lever just pops straight out of the hole. Doesn't take much to get it out.
Carefull you don't bend the metal locking rod behind it.
4 The plastic trim around the door
handle snaps in also. Pull it out from the bottom as the top portion has a
little plastic piece that slips under the panel. If you try and pull from the
top you could break off that little tab.
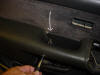
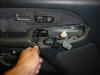
5 There are two long screws that have
to come out. One is under the arm rest and can be seen without removing
anything. The other can be seen when you took off the control panel.
6 The panel should lift straight up
about an inch or so and come right off. Make sure to unplug any electrical
connectors.
Speaker replacement
The factory speaker is held in place by plastic
piece that slips into a couple of slots below and a spring style press in tab on
top. It's glued to the speaker but not very well. I easily pried it off with no
problem. I decided to buy some cheap speakers to experiment with. If it
didn't work out reusing the plastic mount then I wouldn't be out a lot of money.
I found some 6.5" speaker at Walmart for $20. The mount has four places on
it that stick out that had to be ground down to fit inside the new speaker
frame. The new speakers had a dust seal/gasket glued to the inside of the outer
rim. It was similar to that sticky sided foam rubber seals used around
doors. I had to remove them in order for the plastic mount to set down
inside the speakers metal rim. It wasn't a perfect fit but it did work. It was a
little tight getting the top of the mount to lock into the door. A little bump
with the palms of my hand and it went in and locked.
|
|
|
|
Triangle piece above panel. |
|
|
|
Control panel has two slots under it where metal clips are located. The sliding door lock goes in the hole above. That's the rod you don't want to bend showing in the hole. |
|
|
|
One screw under arm rest. |
|
|
|
Second screw under control panel |
|
|
|
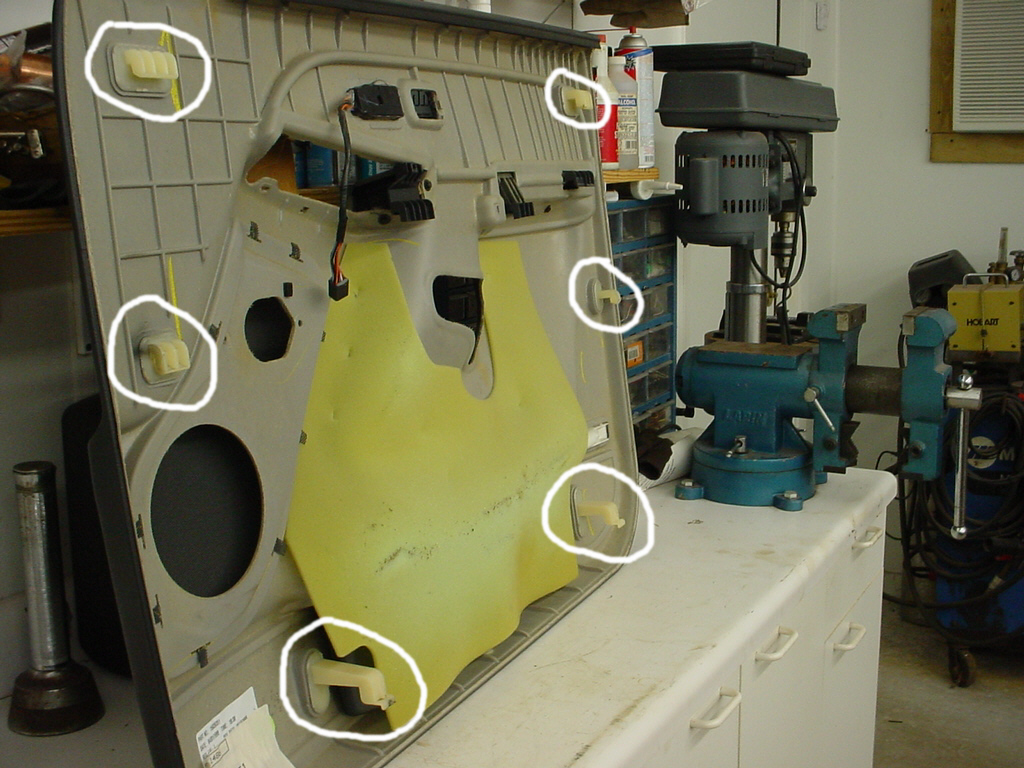
Back side of panel shows the plastic pieces that hold it to the door. |
|
|
|

|
|
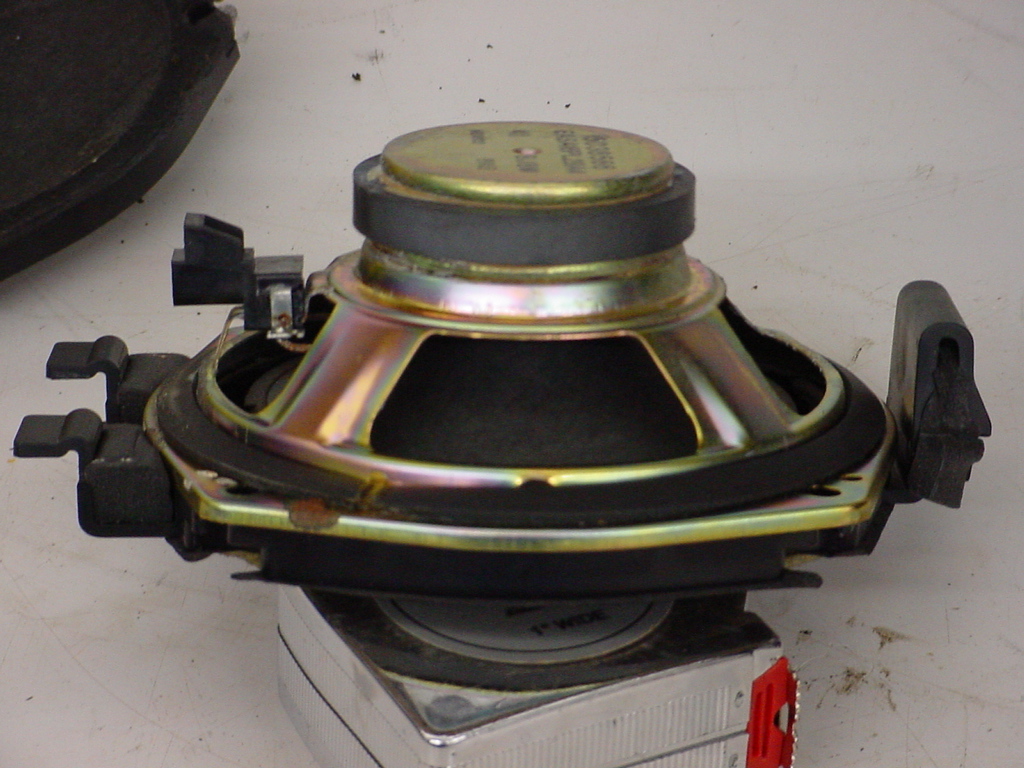
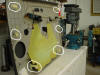
Factory speaker with mount attached. |
|
|
|
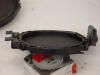
The mount after removing from speaker. If you notice the four places where it looks like a screw would go through, that's the parts that had to be ground down. |
|

|
|
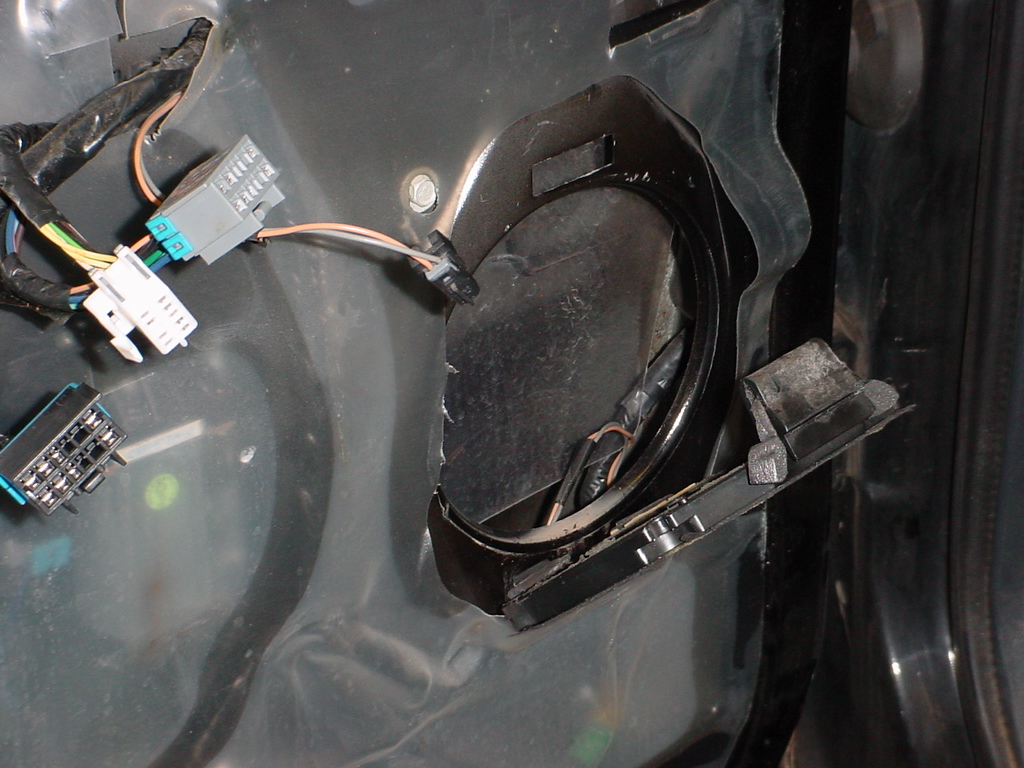
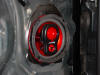
Just showing how the speaker mount fits in the door. |
|
|
|
Finished product. May not be pretty but it works. |
|
|
Home